

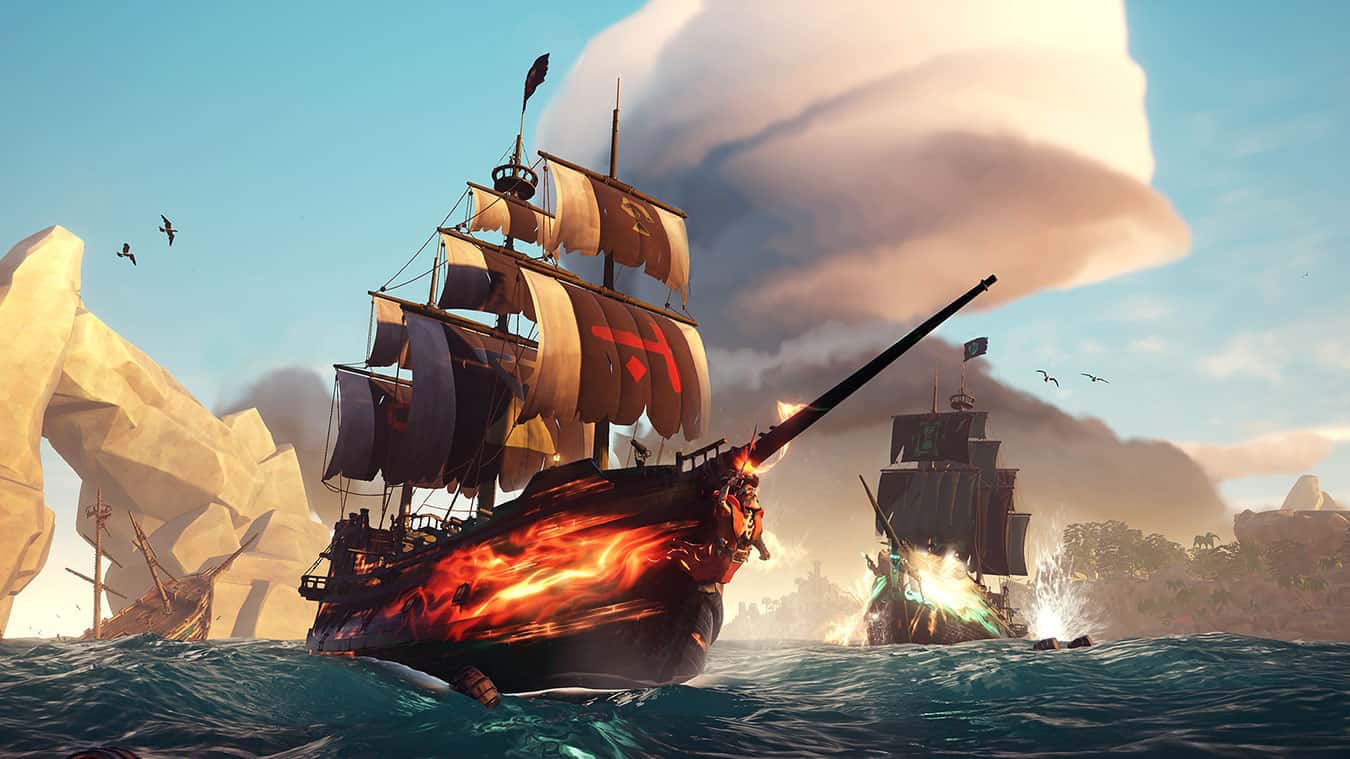
Sea of Thieves' nine Tall Tales send players on story quests chasing love, revenge, and fortune, from the Shroudbreaker to the final Shores of Gold adventure.

- Sea of Thieves' Tall Tales are story quests that guide players through arcs about love, revenge, and the search for fortune.
- Shroudbreaker is the game's first Tall Tale, requiring players to find a ship's log in an underwater wreck to obtain the Shroudbreaker.
- The Cursed Rogue Tall Tale has players find a Skeleton Key and confront Captain Briggsy to progress the story.
Sea of Thieves's story quests await you in our condensed guide to a legendary adventure. If it's story you're after, Sea of Thieves Tall Tales will guide you through it. Players will chase love, revenge, fortune, and the impossible. We've also covered how to play Sea of Thieves and the game's very first quest in our article on that!
If you're just starting out with Sea of Thieves Tall Tales, it can seem pretty daunting, since it usually requires players to solve some complex puzzles, piece together mysterious journals, and fight big bads in boss battles. For a condensed version of each Tall Tale, use our story quest guide, which will let you see Sea of Thieves from a whole new angle. What are the Sea of Thieves story quests? Let's take a look together!

What Are the Sea of Thieves Story Quests? 2023
Shroudbreaker
The Sea of Thieves Shroudbreaker Tall Tale is the first quest in the game, and you can pick it up as soon as you log in. Head to any tavern, find the Mysterious Stranger, and vote for it on top of the barrel to his right. As he'll explain, this quest is all about finding the Shroudbreaker, a key item locked away in an old vault.
- Your first task is to find the Magpie's Wing ship's log among some books, located in an underwater shipwreck on the north side of the uncharted island at N13.
- Now, once the extra pages of the book are unlocked, read the ship's log, study the descriptions, and follow the listed compass instructions to find the island where the chest was last spotted. This part is different for everyone.
- Once you find it, retrieve it from the salty depths and unlock it to get a totem, which is different every time you play. Read your book once more and use the ship map to pinpoint the exact shape of the island you need to head to.
- Head there, look for symbols on the island related to your totem (usually painted onto rocks), and find the small totem slot to unlock the ancient cave.
- Now, in the chamber, look at your book to the right of the island sketch, and you'll see a sequence made up of three symbol combinations. Light the four braziers with your lantern and, after each sequence, press the middle button to rotate the blocks accordingly.
- Now there will be a picture above the brazier table showing where three medallions are located. Luckily, you're on an island, so match the shown location and dig them up!
- Return to the brazier table with the medallions, plug the sockets in, and grab the Shroudbreaker from behind a hidden door.
- Return to any nearby outpost and hand it to the stranger to complete the quest.
The Cursed Rogue
The Sea of Thieves Cursed Rogue Tall Tale is picked up from the Order of Souls tent at the Plunder Outpost. Chat with Madame Olivia to start, and let's go meet Captain Briggsy!
- Your first task is to find a Skeleton Key. Read your book in the radial menu and study the sketches and text (it usually mentions a general area of islands, like the 'Southern Ancient Isles', to narrow it down.) It's usually Snake Island or Devil's Ridge, but it could also be Shark Bait Cove.
- You'll know you're in the right place if you hear skeletons muttering. Focus down the Captain and grab the key they drop!
- Now check the next part of the story to find the chest, usually located on Crook's Hollow, Plunder Valley, or Thieves' Haven. Find the general area in the text, like 'Northern Ancient Isles', and head to the closest one.
- Repeat step 2, and find the location of the final image in your book on the island where you need to dig up the chest.
- Take the chest's contents back to Madame Olivia and exchange them for a Magic Compass. Follow it until you catch up with Captain Briggsy.
- Defeat Briggsy and take his skull back to Madame Olivia.
The Legendary Storyteller
Head to the Ancient Spire Outpost and talk to Tasha the bartender, whom Olivia mentioned while completing The Cursed Rogue. Vote for the story and get ready for an adventure.
- With the book in hand, follow the childlike drawings to the islands described. There are three different stories that can be completed per playthrough, and since they're chosen at random, it's up to you which one you get. Ours was called 'The Naughty Man' and led us to Scurvy Island, but this changes. Look for island names and compass directions for clues.
- When you arrive at the island, look in the book for where a glowing yellow chest is. Head to that landmark and dig. Do this three times for two keys and the chest.
- Unlock the chest with the keys to get... a wooden plank cut into pieces. That's fine though, flip it over for a coordinate to follow.
- Head to that island, then line up the cut pieces of wood with a landmark on the island, and the small chest hollow will be where you need to dig. Ours lined up with the shark statue in the middle of Shark Bait Cove and was dug up on the sandy beach, but this still varies.
- Take the item you find back to sweet Tasha to complete the quest.

Stars of a Thief
The Sea of Thieves Stars of a Thief quest starts out in the middle of nowhere. Head to the Sudds stall at Northern Star Seapost to vote for the book and listen to his cute Scottish accent.
- Read the book you receive, and it'll tell two stories: if it says "a small island made of two", head to Twin Groves. "Face the North Star... far from prying eyes" means Rum Runner Isle.
- Use the landmark description to find the chest on either island and dig up the Magic Spyglass. Ours was between two rocks on Twin Groves.
- This special spyglass can see constellations, whose compass directions you need to follow for simplicity's sake. This is the key to the next two puzzles, in which you need to find the Star Gems.
- There are multiple random stories. Ours was called "Lost an Eye" and mentioned heading "in the direction of One Eye, away from my outpost." One Eye refers to the one-eyed shark constellation listed in the index of your book, and (once you find it in the sky) it's South by compass. Follow these rules to find the islands you need.
- Once you've collected the gems, head to the uncharted island at N13 and dive into the underwater tunnel. Look for the Greek column underwater to find it.
- Place the gems in for a totem to be given. Also, grab the scroll beneath the star gem slot for extra pages that'll help you solve the next puzzle. Without it, you'll be stuck.
- The totem corresponds to a specific island with a totem slot. Hopefully you'll get the Crab Totem, with the cave holding crab symbols located right behind you. Pay attention to the symbols that correspond to your totem.
- Once you open the vault, you'll have another rotating block puzzle. This time, you'll need to decipher a poem written on the last page of your book.
- Each line relates to a constellation description in your index, so study it. A warlord, for instance, means the Great Warrior. Match the eight symbols and enter the two combinations to grab the Shroudbreaker. Take it back to our friend Suddsy.
The Wild Rose
To start Sea of Thieves Wild Rose, head to the Order of Souls tent at Sanctuary Outpost.
- First up is finding the Chest of Memories, located at a random location depending on the text of the love letter sections in the book found in your radial menu. Study the notes; ours was on Rapier Cay.
- Dig it up and you'll find two more pieces of text that'll direct you to another group of items. If you study the book sketch, the point you need to dig is usually where the characters are standing in the picture, so hold it up once you arrive at the designated island.
- Grab the buried items and take them back to the Order of Souls tent at Sanctuary Outpost. This will turn into a compass you need to follow the items with. This part is straightforward, and it'll give you half of a locket before changing the compass direction.
- Follow the new direction. The next piece of the locket drops after fighting a skeleton captain.
- Grab the locket pieces and return them to the Order of Souls shop at Sanctuary Outpost to complete The Wild Rose.
The Art of the Trickster
Start this quest by heading to Plunder Valley and talking to Salty the skeleton parrot, found near a wrecked ship and campfire close to the shore.
- Once you pick up the book, head to the other side of the island to a cave full of creepy skeletons. Follow the instructions in the book, moving its hands to unlock a special spyglass and a cage with more text to decipher.
- This leads to a series of spyglass puzzles. Follow the aerial depictions of Plunder Valley or Discovery Ridge to find wooden planks to stand on. Look through your spyglass and line up the two pieces in the skull's eyes. There will be an X in the skull's mouth. Head there and dig three times.
- On the third dig, you'll get a barrel that'll trigger a series of explosions on your island. Run to your ship with the barrel and don't die here, or you'll have to start over.
- Now head to the cave in the middle of Sailor's Bounty, which is full of traps you'll need to overcome. Don't lose the barrel, and place it in the totem slot once you reach the end.
- Fight through tons of skeletons and then the captain to get another totem. Head to the island designated by your totem and enter the vault. Light the braziers to fight off more creepy skeletons.
- Defeat the Vault Guardians for three medallions, which you'll need to place on the table. Finally, take the item back to Salty, who gave you the quest.

The Fate of the Morningstar
Kick off your clogs and head to the Ferry of the Damned for this quest. Chat with the man steering the ferry; the story is on a pedestal to his left.
- Check the second page of the book you receive and head to the highest peak of Kraken's Fall or Marauder's Arch, then start digging to find the Enchanted Lantern.
- Mosey over to Old Faithful Isle and use the lantern to follow the footprints left by the Morningstar crew.
- These will lead you to various locations where you need to find three keys and three chests. It's pretty simple, just make sure to check underwater and fire yourself out of the ghost cannon.
- Now open the chests with the keys and free the crew, then kill yourself and talk to the man on the wheel at the Ferry of the Damned to finish this quest.
Revenge of the Morningstar
Head to Dagger Tooth Outpost and you'll find the book to the right of Sandra the shipwright. Vote for it and get ready to dive.
- Head to Boulder Cay and dive under the waves on the south side of the island to find a shipwreck and three ship's logs underwater.
- Check the log once more, and it should lead you to a palm tree on the other side of the island where you can dig up a chest.
- The chest contains an outfit your whole crew needs to wear. Go back and talk to the bartender and trinket shop owner wearing this costume, and finish the dialogue. They'll give you two new locations, Cannon Cove and Sunken Grove.
- Head to Cannon Cove and listen for muttering skeletons. Kill the captain, take the orders, and decipher them using the code-breaking pages in your book. It's fairly self-explanatory, and it's easier if you can show a friend while they read it.
- They appear to be chosen at random, but this will tell you where to dig for a skull you need to progress.
- Now head to Sunken Grove and kill another skeleton captain for another set of orders. Use the code-breaking index to find the dig spot and grab the chalice.
- Now, look at your text again. Find where it says "X will be my resting place" and "I will rest at X". Combine the two into a coordinate, sail there, and place your key items into the slots to take down Greymarrow. This boss fight is absolutely brutal. Be ready.
- Grab the stone it drops and return to Sandra to finish this quest.
Shores of Gold
This is the big one. Get ready for the final adventure. Head to Morrow's Peak Outpost and vote for the story on the platform next to the tavern.
- To reach the Shores of Gold, head due north from where you dock and enter the cover.
- There are four vaults on the island you need to solve to progress.
- The West Vault has you using your compass to find pressure plates and panels around the island. Find the four symbols and apply them to the Kraken Token vault.
- The Southern Vault has a pretty straightforward rotating symbol puzzle; just find the symbol that doesn't rotate for the Boat Token.
- The Eastern Vault is also fairly simple; look at the ceiling, and you'll see a key formation you need to replicate while rotating the blocks to unlock another token.
- The Northern Vault is treacherous and full of spikes; you need to line up the symbols on the blocks to get the Warrior Token.
- Now cross the bridge to the south and head to the Compass Vault, where you'll see a map on which you can place the medallions.
- Open the door, grab the coin, then use your boat to launch yourself onto the roof of the headless throne statue.
- Head inside, use your coin to open the door, and fight your way through traps and skeletons.
- Defeat the final boss, the Gold Hoarder, in his room and take his head back to the Order of Souls.
Comments (0)
Log in to leave a comment giriş yap.
No comments yet. Be the first!
Related Posts
All News →
Turkey Game Industry Report 2024 Released
Turkey's 2024 Game Industry Report shows the country's gaming market grew to over $810M with 48M+ active players, alongside a new digital guide to local game companies.
Loldle Answers: Daily League of Legends Puzzle
Loldle is a daily League of Legends guessing game with five modes (Classic, Quote, Ability, Emoji, Splash); December 6, 2024's Classic answer was Fiddlesticks.

Monopoly GO Dice Links: Free Dice Rewards
Monopoly GO's free dice links refresh daily and can be redeemed instantly for 25 or 30 free dice each, plus tips like auto refills every 60 minutes, daily gifts, and sticker trading to earn even more.